Growing Microgreens in a Jar: A Nutrient-Packed Indoor Garden
Introduction
As a passionate enthusiast of microgreens, I’m thrilled to share my insights on growing these nutritious and flavorful wonders right in the comfort of your home. Microgreens are young, tender plants that pack a punch of flavor and nutrition. In this article, I’ll guide you through the process of growing microgreens in a jar, a convenient and space-efficient method that yields impressive results. Let’s get started!
What are Microgreens?
Microgreens are the seedlings of vegetables and herbs that are harvested at an early stage of growth, typically when they have developed their first true leaves. These tiny greens are packed with concentrated nutrients, often containing higher levels of vitamins, minerals, and antioxidants compared to their mature counterparts. They come in a variety of flavors, ranging from mild and delicate to tangy and spicy, making them an exciting addition to salads, sandwiches, and garnishes.
Why Grow Microgreens in a Jar?
Growing microgreens in a jar offers several advantages, making it an ideal choice for both beginners and seasoned gardeners. Here’s why:
- Space-efficient: Jars require minimal space, making them perfect for small apartments, kitchens, or even office desks.
- Year-round availability: By growing microgreens indoors, you can enjoy fresh greens throughout the year, regardless of the outdoor season.
- Quick harvest: Microgreens grow rapidly, usually reaching harvestable size within 1-3 weeks, providing a sense of satisfaction and a quick turnaround.
- Cost-effective: Compared to buying packaged microgreens from stores, growing your own in a jar is much more economical and ensures freshness.
- Easy maintenance: With a jar, you have more control over the growing environment, allowing you to customize light, temperature, and moisture levels to optimize growth.
Choosing the Right Jar and Supplies
To get started, you’ll need a few supplies. Here’s what you’ll need:
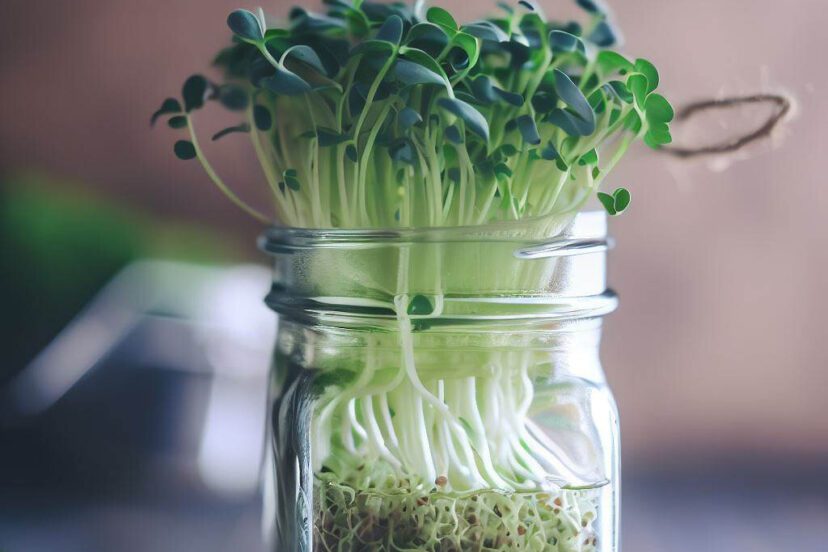
- Jar: Select a wide-mouthed glass jar that allows sufficient airflow. A mason jar or a repurposed food container with drainage holes works well.
- Lid or cover: Find a lid or cover for the jar that can provide darkness during germination and be removed later for better airflow.
- Growing medium: Choose a soilless growing medium like coconut coir or vermiculite. These mediums are lightweight, sterile, and provide excellent moisture retention.
- Seeds: Choose microgreen seeds that are suitable for jar growing. Some popular options include broccoli, radish, kale, arugula, and sunflower. Make sure to purchase high-quality, organic seeds from a reputable supplier to ensure the best germination and flavor.
Here are some great mason jars choices to begin your cultivating of microgreens:
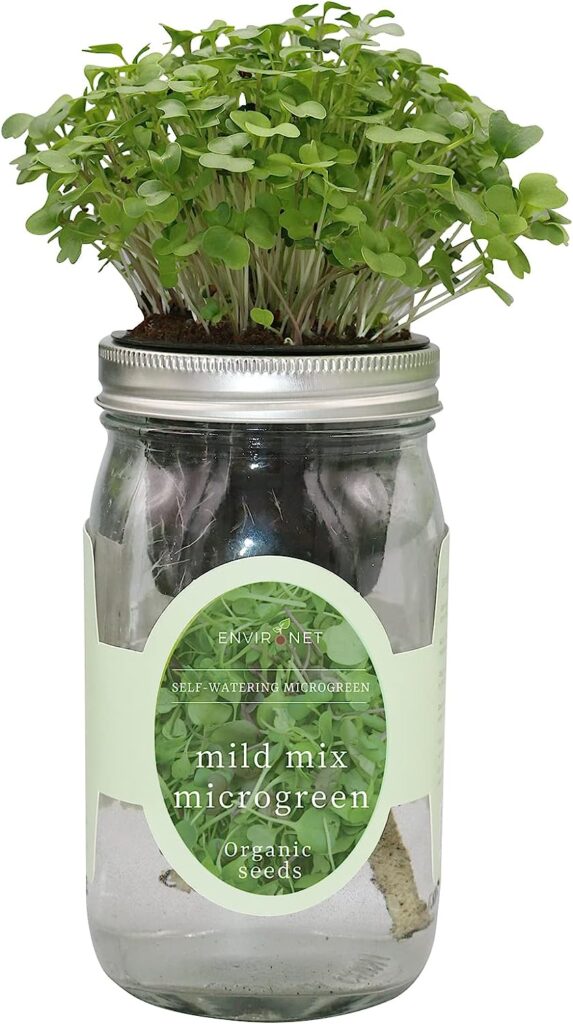
Environet Hydroponic Microgreens Growing Kit
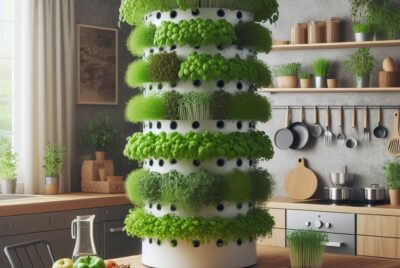
The Environet Hydroponic Microgreens Growing Kit is a convenient and user-friendly option for growing microgreens at home. It utilizes a hydroponic system, which allows you to grow microgreens without soil, making it space-saving and efficient in water usage. The kit includes high-quality seeds and a nutrient solution tailored for microgreens, ensuring successful growth and flavorful results. With this kit, you can enjoy a year-round supply of fresh and nutritious microgreens, regardless of the climate or season. It is suitable for beginners and individuals with limited gardening experience. The quick harvest time allows for a continuous supply of fresh greens for salads, sandwiches, and garnishes.
✅ Pros: The kit is easy to use, offers efficient water usage, and is suitable for small spaces. It provides a continuous supply of fresh and highly nutritious microgreens.
❌ Cons: The initial cost may be higher compared to traditional soil-based methods. Access to a suitable light source is required for optimal growth. It is limited to growing microgreens and may not support the growth of other plants or herbs.
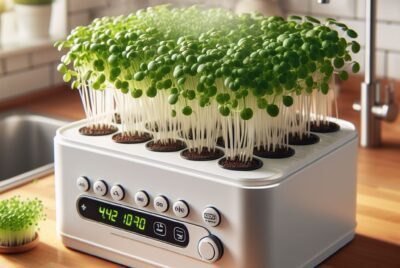
Soil Sunrise Hydroponic Mason Jar Starter Kit
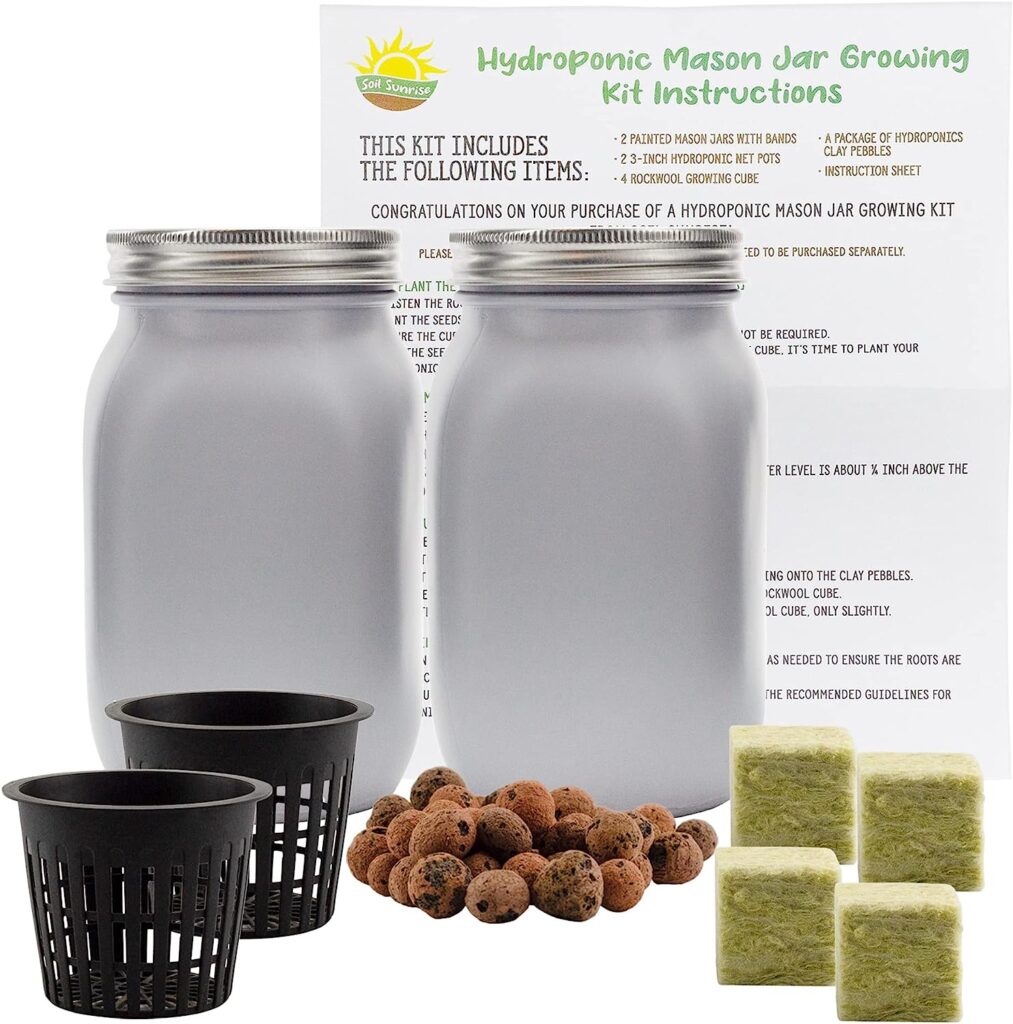
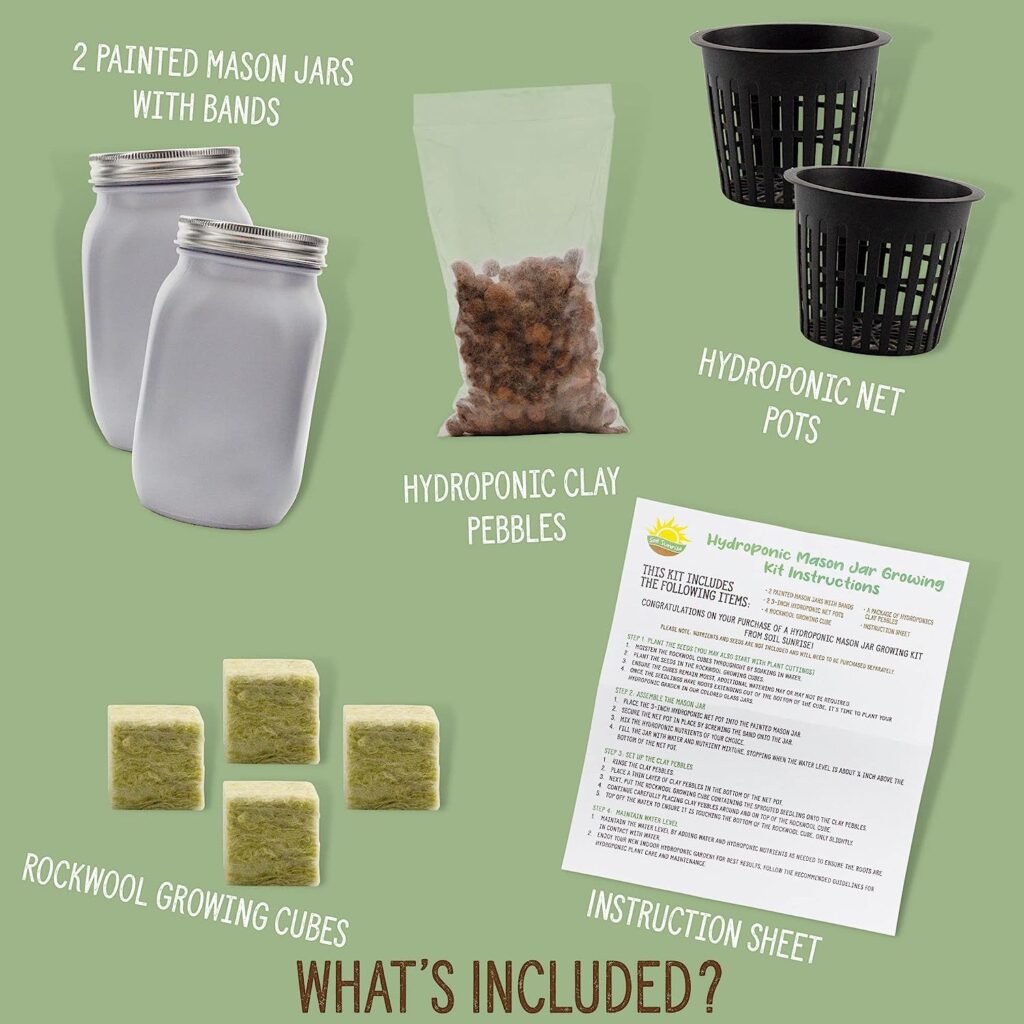
The Soil Sunrise Hydroponic Starter 10-Piece Rockwool Kit is a comprehensive solution for those venturing into hydroponic gardening. With easy setup and included instructions, it provides everything needed to start a successful hydroponic system. The kit features rockwool cubes as a versatile and efficient growing medium. These cubes have open fibers that retain water, provide hydration and aeration to the roots, and create an optimal environment for plant growth. The affordability of the kit makes it accessible to both beginners and experienced hydroponic enthusiasts.
✅ Pro: One advantage of using rockwool in hydroponics is its excellent moisture retention properties. Rockwool cubes have open fibers that efficiently retain water, preventing overwatering and ensuring consistent hydration for the plants. This feature helps to create an optimal growing environment and promotes healthy root development.
❌ Con: A drawback of using rockwool as a growing medium in hydroponics is that it is not biodegradable. Rockwool is made from synthetic materials and does not break down naturally over time. Proper disposal methods need to be followed to minimize environmental impact when it comes to disposing of used rockwool.
Selecting the Right Microgreen Seeds
When selecting seeds for your microgreens, consider factors such as taste, growth time, and ease of cultivation. Different varieties offer unique flavors and textures, allowing you to experiment and discover your favorites. It’s also important to check the estimated time to maturity, as some varieties may be ready to harvest in as little as a week, while others may take a bit longer.
Preparing the Jar for Planting
Before planting your microgreen seeds, it’s crucial to prepare the jar properly. Follow these steps:
- Thoroughly clean the jar and lid with warm, soapy water, ensuring all residue is removed.
- Rinse the jar and lid with a mixture of one part vinegar and three parts water to sanitize them.
- Allow the jar and lid to air dry completely to avoid any potential contamination.
Planting and Growing Microgreens
Now that your jar is ready, let’s dive into the planting process:
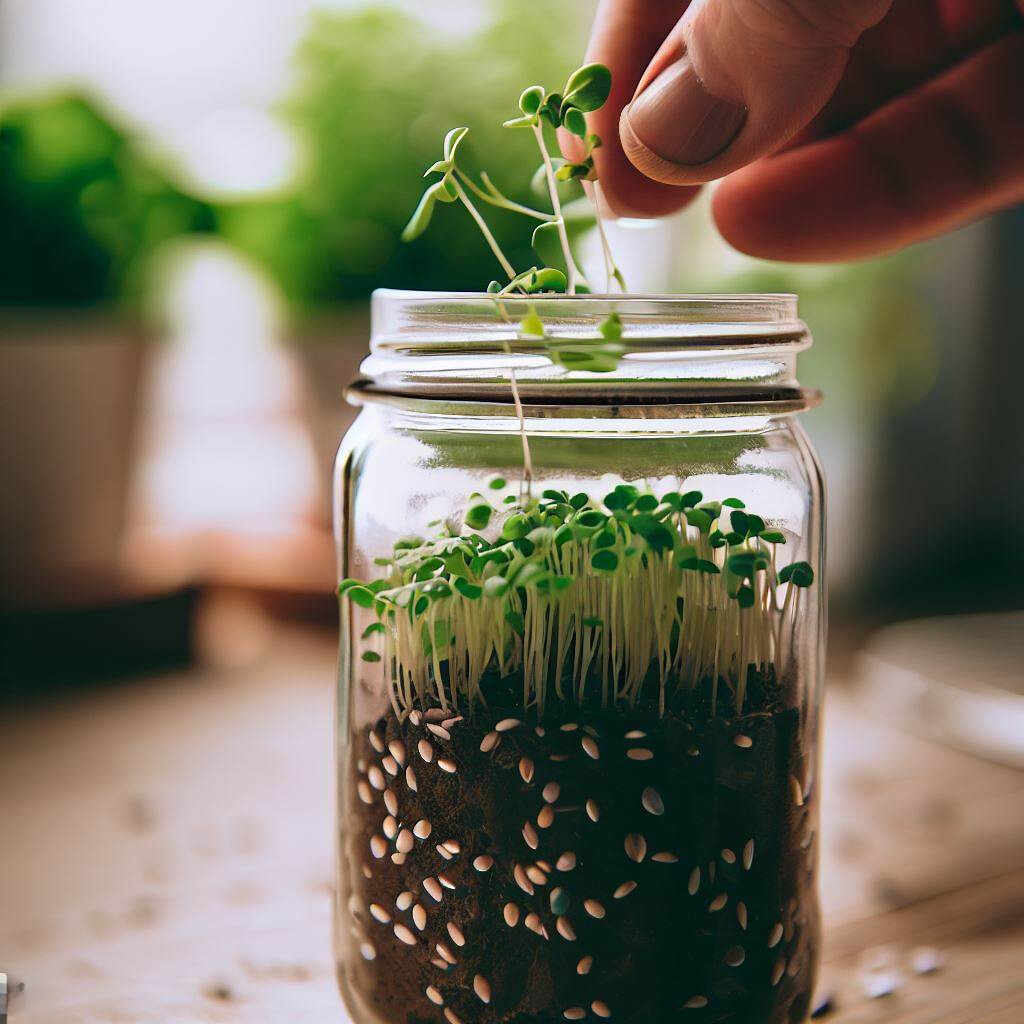
Planting the Seeds
- Fill the jar with the chosen growing medium, leaving about an inch of space at the top.
- Evenly spread the seeds across the surface of the growing medium. Avoid overcrowding to allow proper airflow and minimize the risk of mold or fungal growth.
- Gently press the seeds into the growing medium to ensure good seed-to-soil contact.
- Place the lid or cover on the jar to provide darkness during the germination phase. Keep it in place for 2-3 days until the seeds begin to sprout.
Providing Proper Light and Temperature
- After the seeds have sprouted, remove the cover and place the jar in a well-lit area. Microgreens thrive in bright, indirect light.
- Maintain a consistent temperature between 60-75°F (15-24°C) for optimal growth. Avoid extreme heat or cold, as it can affect germination and overall plant health.
Watering and Maintaining the Microgreens
Proper watering and maintenance are crucial for healthy microgreen growth. Here are some tips:
Watering Techniques
- Water the microgreens gently to avoid dislodging the seeds or damaging the delicate seedlings.
- Use a spray bottle or a watering can with a fine nozzle to mist the growing medium evenly.
- Ensure the growing medium remains consistently moist but not waterlogged. Avoid overwatering, as it can lead to mold or rot.
Fertilizing the Microgreens
Since microgreens have a short growth period, they typically don’t require additional fertilization. The nutrients present in the chosen growing medium should be sufficient for healthy growth. However, if you notice pale or stunted growth, you can dilute a balanced liquid fertilizer and apply it sparingly.
Harvesting and Enjoying Your Microgreens
As your microgreens grow, they’ll develop their first true leaves and reach harvestable size. Here’s how to harvest and enjoy them:
- Once the microgreens have grown to a height of 1-2 inches and developed their true leaves, it’s time to harvest.
- Use clean scissors or a sharp knife to cut the microgreens just above the soil level.
- Rinse the harvested microgreens gently under cool water to remove any debris.
- Pat them dry using a paper towel or a salad spinner.
- Enjoy the freshly harvested microgreens in a variety of ways! Add them to salads, sandwiches, wraps, or use them as a vibrant garnish on your favorite dishes. The possibilities are endless, and their intense flavors will elevate your culinary creations.
Troubleshooting Common Issues
While growing microgreens in a jar is relatively straightforward, you may encounter a few challenges along the way. Here are some common issues and their solutions:
Mold or Fungal Growth
If you notice mold or fungal growth on your microgreens, it’s essential to take immediate action to prevent further damage. Here’s what you can do:
- Increase airflow by removing the cover or lid to improve ventilation.
- Ensure proper drainage by allowing excess water to escape from the jar.
- Reduce moisture levels by watering less frequently or adjusting the watering technique.
- If the issue persists, consider using a diluted hydrogen peroxide solution to combat the mold.
Leggy or Pale Microgreens
Leggy or pale microgreens indicate a lack of light or inadequate growing conditions. To address this problem:
- Place the jar in a brighter location or use supplemental grow lights to provide sufficient light.
- Ensure the microgreens are not overcrowded, as this can restrict airflow and light penetration.
- Adjust the temperature to the recommended range to promote healthy growth.
Conclusion
Growing microgreens in a jar is a rewarding and accessible way to enjoy fresh, nutrient-packed greens year-round. With the right jar, seeds, and proper care, you can cultivate a vibrant microgreen garden right on your kitchen countertop. Experiment with different varieties, savor their flavors, and embrace the joy of growing your own nutritious greens!
FAQs
1. How long does it take for microgreens to grow in a jar? Microgreens typically reach harvestable size within 1-3 weeks, depending on the variety and growing conditions.
2. Can I reuse the growing medium for subsequent batches of microgreens? While it’s possible to reuse the growing medium, it’s recommended to start fresh with each new batch to minimize the risk of disease and ensure optimal growth.
3. Can I grow microgreens in any type of jar? It’s best to choose a wide-mouthed glass jar that allows airflow. Mason jars or repurposed food containers with drainage holes work well for growing microgreens.
4. Do microgreens require fertilizer? In most cases, microgreens don’t require additional fertilizer as the nutrients present in the growing medium are sufficient. However, if you notice signs of nutrient deficiency, you can apply a diluted liquid fertilizer sparingly.
5. Can I grow microgreens without natural sunlight? While natural sunlight is ideal for microgreen growth, you can also use artificial grow lights to provide the necessary light intensity and spectrum required for healthy growth.