Growing Microgreens Indoors: A Beginner’s Guide
I want to share my knowledge and provide helpful suggestions for growing microgreens indoors. Microgreens are young, nutrient-rich plants that are harvested at an early stage, typically within 7-14 days after germination. They are packed with flavors, textures, and concentrated nutrients, making them a delightful addition to any dish. In this article, I will discuss the benefits of growing microgreens indoors and provide step-by-step guidance to help you succeed in your microgreen adventure.
What are Microgreens?
Microgreens are tiny plants that are harvested when they have developed their first true leaves, just beyond the sprout stage. They are more mature than sprouts and less developed than baby greens. Despite their small size, microgreens boast a wide range of flavors, colors, and textures, from spicy arugula to tender basil. They are often used as garnishes, salad toppings, or ingredient enhancers due to their concentrated taste.
Benefits of Growing Microgreens Indoors
- Year-Round Availability: By growing microgreens indoors, you can enjoy fresh and vibrant greens throughout the year, regardless of the season.
- Nutrient Density: Microgreens are incredibly nutrient-dense, containing higher levels of vitamins, minerals, and antioxidants than their fully grown counterparts.
- Speed and Convenience: Microgreens have a rapid growth cycle, allowing you to harvest them within a couple of weeks. They require minimal space and can be grown in small containers or trays.
- Flavorful and Versatile: The array of flavors and textures offered by microgreens adds depth and excitement to any culinary creation.
- Sustainable and Cost-Effective: Growing your own microgreens at home helps reduce food waste and is a cost-effective way to enjoy fresh produce.
Choosing the Right Microgreens
When selecting microgreens to grow, consider your personal preferences, culinary usage, and the growing conditions available. Some popular options for beginners include:
- Radish: Known for its peppery flavor, radish microgreens are quick to grow and add a vibrant touch to salads.
- Sunflower: Sunflower microgreens have a mild, nutty taste and are packed with nutrients like vitamin E.
- Pea: These microgreens have a delicate and sweet flavor, perfect for adding freshness to sandwiches or wraps.
- Broccoli: With its mild, earthy taste, broccoli microgreens are rich in antioxidants and have a pleasant crunch.
Preparing the Growing Environment
To ensure successful growth, prepare a suitable environment for your microgreens:
- Selecting the Growing Containers: Choose shallow containers with drainage holes, such as seed trays or recycled plastic containers. Ensure they are clean and disinfected before use.
- Planting Medium: Use a sterile soilless growing medium like coco coir or peat moss. Fill the containers to about an inch below the rim, leaving enough space for watering.
- Moistening the Growing Medium: Thoroughly moisten the planting medium before sowing the seeds. Ensure it is evenly moist throughout but not waterlogged.
Planting the Microgreens
- Seed Selection: Choose high-quality, organic microgreen seeds from a reliable source. Consider the specific variety and its flavor profile.
- Sowing the Seeds: Sprinkle the seeds evenly over the moistened growing medium, aiming for a dense but not overcrowded distribution.
- Covering and Pressing: Gently press the seeds into the growing medium to ensure good seed-to-soil contact. Use a fine layer of vermiculite or another lightweight medium to cover the seeds.
- Misting and Watering: Mist the newly planted seeds using a spray bottle to avoid dislodging them. Water the microgreens gently, keeping the growing medium moist but not saturated.
Watering and Lighting
- Watering: Water the microgreens regularly, ensuring the growing medium stays consistently moist. Avoid overwatering, as it can lead to root rot.
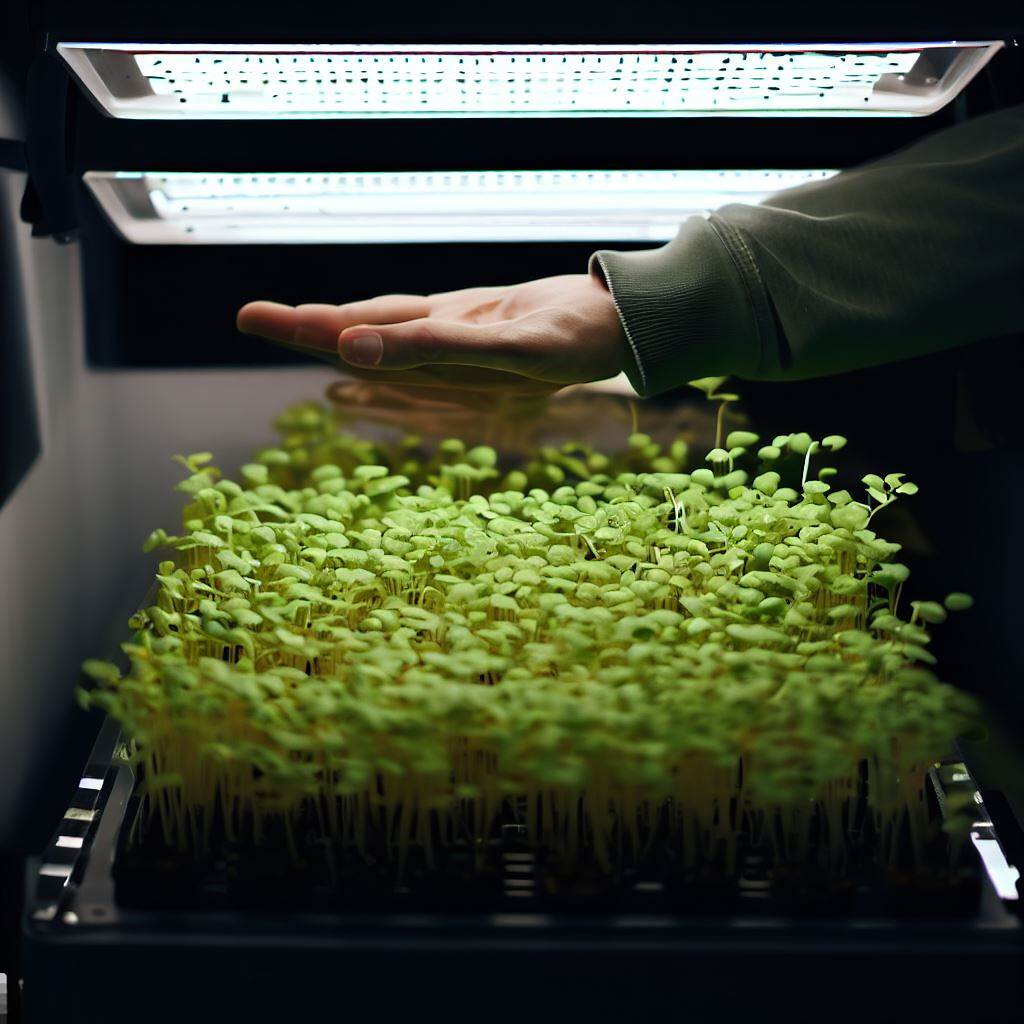
- Lighting: Place the trays in a well-lit area, preferably near a south-facing window where the microgreens can receive ample sunlight. If sunlight is limited, use grow lights to provide sufficient illumination.
Proper Ventilation
- Air Circulation: Microgreens need proper air circulation to prevent mold and encourage healthy growth. Use a small fan set on low to create gentle airflow.
- Open-Air Time: Once the microgreens have established their first true leaves, provide them with some open-air time daily to strengthen their stems and improve flavor.
Managing Temperature and Humidity
- Temperature: Maintain a temperature between 60-75°F (15-24°C) for optimal microgreen growth. Avoid exposing them to extreme temperature fluctuations.
- Humidity: Microgreens prefer slightly higher humidity levels. Use a humidity dome or cover the trays with plastic wrap until the seeds germinate, then remove it to prevent excessive moisture buildup.
Harvesting and Storage
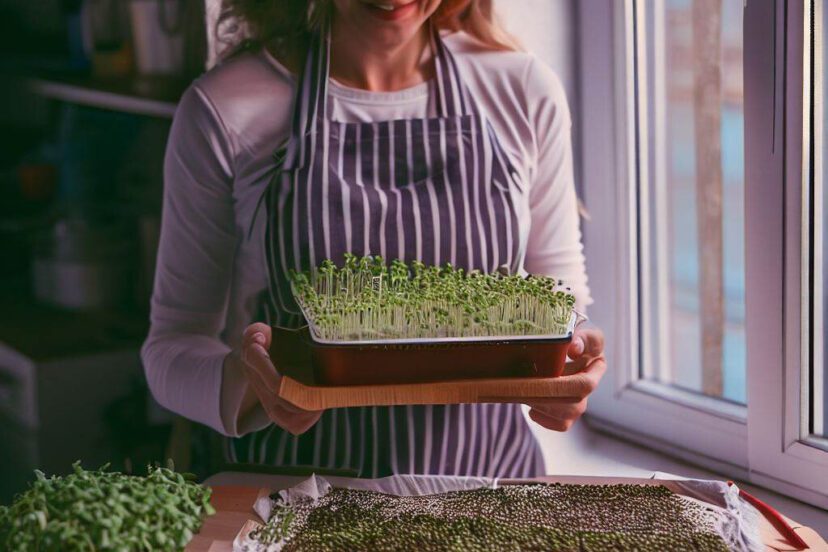
- Harvest Time: Harvest the microgreens when they have developed their first true leaves, usually 7-14 days after planting. Use scissors to cut them just above the soil level.
- Storage: Rinse the harvested microgreens gently and pat them dry with a paper towel. Store them in a breathable container lined with a damp paper towel to maintain freshness.
Troubleshooting Common Issues
- Mold or Fungal Growth: Ensure proper ventilation and avoid overwatering to prevent mold growth. If mold appears, remove affected plants and adjust your watering routine.
- Leggy or Weak Seedlings: Insufficient light or overcrowding can cause weak and leggy seedlings. Provide adequate lighting and thin out overcrowded areas.
- Yellowing or Wilting Leaves: Check for proper watering and adjust if necessary. Yellowing leaves can also indicate nutrient deficiencies, so consider using a balanced organic fertilizer.
Creative Ways to Use Microgreens
- Garnish: Sprinkle microgreens over soups, salads, or sandwiches to add a burst of color and flavor.
- Smoothies and Juices: Blend microgreens into your favorite smoothie or juice recipes for an extra nutritional boost.
- Stir-Fries and Stirred Dishes: Toss microgreens into stir-fries or incorporate them into dishes like scrambled eggs or pasta for a vibrant touch.
- Homemade Pesto: Use microgreens, such as basil or cilantro, as a flavorful alternative in your homemade pesto recipes.
- Creative Culinary Combinations: Experiment with unique flavor combinations by pairing different microgreens with specific dishes to enhance their taste.
Hydroponic or Soil Growing of Microgreens?
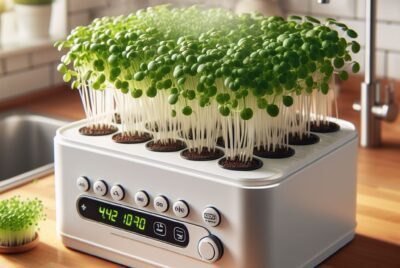
Microgreens can be grown using different methods, including hydroponics and soil-based cultivation. Hydroponic growing involves growing microgreens in a nutrient-rich water solution, while soil-based growing utilizes soil as the growing medium.
Hydroponic Growing: Hydroponic systems offer several advantages, including faster growth rates, water efficiency, and precise control over nutrient levels. Hydroponically grown microgreens often have a cleaner appearance and can be harvested with their roots intact, providing longer shelf life.
Soil-Based Growing: Soil-based growing methods provide a more natural environment for microgreens, allowing them to absorb nutrients from the soil. Soil-based cultivation is often preferred by those who appreciate the organic and earthy characteristics of microgreens.
Whether you choose hydroponic or soil-based growing, both methods can yield delicious and nutritious microgreens that are perfect for enhancing your culinary creations.
Conclusion
Growing microgreens indoors allows you to have fresh and nutritious greens at your fingertips all year round. By following the step-by-step process outlined in this guide, you can create a thriving microgreen garden in your own home. Whether you choose hydroponic or soil-based cultivation, the key is to provide the right conditions of lighting, watering, ventilation, and temperature to support their growth. With a little care and attention, you’ll soon be harvesting vibrant and flavorful microgreens that will elevate your culinary creations to new heights.
So, why not start your own indoor microgreen garden today? Embrace the joy of growing, harvesting, and savoring these miniature powerhouses of flavor and nutrition. With a little effort and attention, you’ll be rewarded with a continuous supply of vibrant and delectable microgreens to elevate your meals and nourish your body.
FAQs
1. How long does it take to grow microgreens indoors?
Microgreens typically take around 7-14 days to grow from seed to harvest. The exact time may vary depending on the variety of microgreens you are growing.
2. Can I reuse the soil for subsequent microgreen plantings?
It is generally recommended to use fresh soil or growing medium for each batch of microgreens. Reusing soil increases the risk of disease and decreases the nutrient availability for the new crop.
3. Do microgreens require direct sunlight?
While microgreens benefit from direct sunlight, they can also be grown successfully under grow lights or in partially shaded areas. Aim for at least 4-6 hours of indirect or direct sunlight per day.
4. How do I know when microgreens are ready for harvest?
Microgreens are ready for harvest when they have developed their first true leaves, usually 1-2 inches in height. They should have a vibrant color and a flavor characteristic of their variety.
5. Are all microgreens edible?
While the majority of microgreens are edible and safe to consume, it is essential to research and ensure that the specific variety you are growing is suitable for consumption.
Remember to experiment with different microgreen varieties and culinary combinations to discover your favorites and add a delightful touch to your meals. Enjoy the journey of growing and savoring these tiny powerhouses of flavor and nutrition!