How to Cultivate Microgreens: A Step-by-Step Guide

Introduction to Microgreens
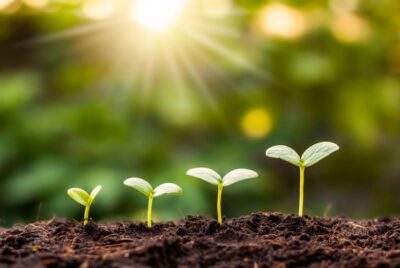
Cultivating microgreens is a gratifying endeavor that brings the joy of gardening to even the smallest spaces. These young, tender shoots of edible plants offer a concentrated burst of nutrients and flavors, making them a prized addition to any kitchen. Whether you have a sprawling garden or just a small balcony, learning how to cultivate microgreens can be embraced by all. In this comprehensive guide, we’ll delve into the fascinating world of microgreens and explore the step-by-step process of growing them right at home. From selecting the right seeds to mastering the optimal growing conditions, we’ll take you through each crucial step, ensuring that you embark on this journey with confidence and success. So, let’s roll up our sleeves and discover the secrets to growing these miniature powerhouses of nutrition.
Choosing the Right Seeds
Selecting the right seeds is the crucial first step in how to cultivate microgreens. It’s akin to choosing the foundation for a building – it sets the stage for success. Opt for certified organic, non-GMO seeds whenever possible. These seeds are free from harmful chemicals and genetic modifications, ensuring a healthier harvest. Popular microgreen varieties include broccoli, radish, kale, sunflower, and pea shoots. Each variety offers a unique flavor profile, ranging from mild and earthy to peppery and robust. Experimenting with different varieties can add a delightful twist to your culinary creations.
Selecting the Growing Medium
The choice of growing medium plays a pivotal role in the success of how to cultivate microgreens. Unlike traditional gardening, microgreens can thrive without soil. In fact, many growers prefer soilless mediums for their cleanliness and ease of use. Consider options like coconut coir, hydroponic pads, or specialty microgreen growing mats. These mediums provide excellent aeration and moisture retention, creating an optimal environment for germination and growth. They are also less prone to pests and diseases, giving your microgreens a healthy head start.
Optimal Growing Conditions
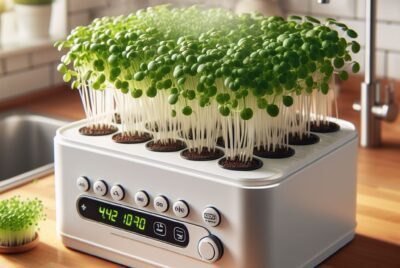
Light: Adequate light is crucial for photosynthesis, the process by which plants convert light into energy. Microgreens thrive in bright, indirect sunlight. If natural light is limited, consider using full-spectrum grow lights. Position the lights a few inches above the greens and adjust the duration to ensure they receive approximately 12-16 hours of light per day.
Temperature: Maintaining a consistent temperature is key to successful microgreens cultivation. Aim for a range between 65-75°F (18-24°C) for most microgreen varieties. This temperature range provides an ideal balance between germination and growth, ensuring healthy and vigorous greens.
Humidity: Adequate humidity levels are essential, especially during the germination phase. Aim for a relative humidity of 40-60%. You can use a humidifier or place a tray of water near the growing area to help regulate moisture levels. Consistent humidity prevents the growing medium from drying out too quickly, giving your microgreens the moisture they need to thrive.
Planting the Seeds
The planting stage is a pivotal moment in the how to cultivate microgreens process. After selecting your seeds and growing medium, it’s time to sow them. Distribute the seeds evenly, providing enough space to grow without overcrowding. While microgreens are tiny, giving them enough space ensures they have room to grow without competing for resources. Gently pressing them into the surface ensures good contact with the growing medium, setting the stage for healthy germination.

Watering and Moisture Control
Watering is a critical aspect of how to cultivate microgreens. However, it requires a delicate balance. Too much water can lead to mold, rot, or other issues, while too little can hinder germination and growth. A fine mist from a spray bottle is an excellent way to provide moisture without disturbing the seeds. Aim to keep the growing medium consistently moist, but not waterlogged. Pay close attention to any signs of excess moisture, such as pooling or a soggy appearance. Adjust your watering routine accordingly to maintain optimal moisture levels.
Nutrient Requirements
Microgreens are incredibly nutrient-dense, but they may still benefit from a little extra boost. While they can grow without additional fertilizers, providing them with a diluted organic fertilizer can enhance their growth and nutritional content. Opt for a balanced, water-soluble fertilizer, and apply it sparingly. Too much fertilizer can lead to over-fertilization, which can be detrimental to the delicate roots of microgreens. A gentle, steady supply of nutrients will keep your microgreens thriving.
Dealing with Pests and Diseases
While microgreens are relatively low-maintenance, they are not immune to pests and diseases. Regular monitoring of your microgreens is crucial to catch any issues early. Common pests that can affect microgreens include aphids, fungus gnats, and spider mites. To combat these pests, consider using natural remedies like insecticidal soap or neem oil. These solutions are effective at controlling pests without resorting to harsh chemicals that can harm both your plants and the environment.
Harvesting Microgreens
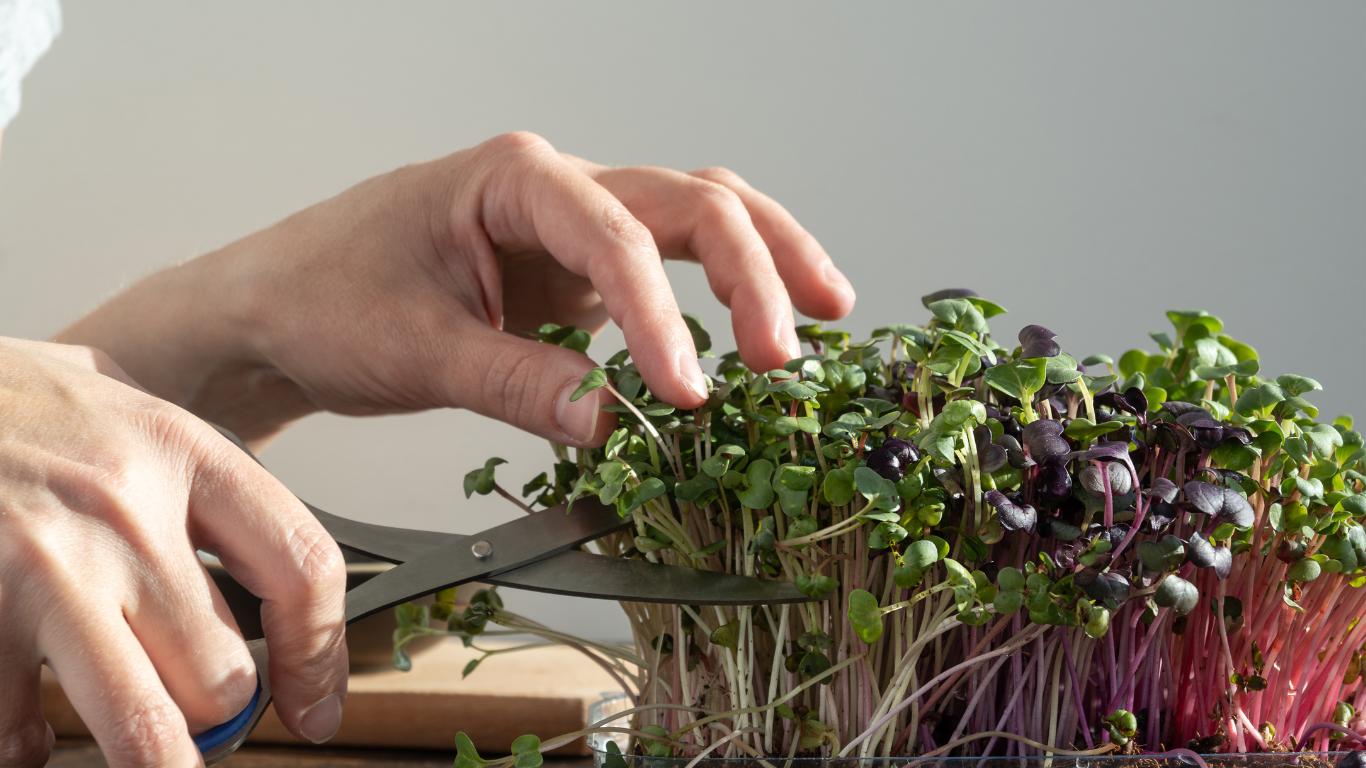
Harvesting microgreens is a moment of celebration in how to cultivate microgreens. It’s the culmination of your care and attention, and it marks the beginning of enjoying the fruits of your labor. Microgreens are typically ready for harvest when the first true leaves emerge, which usually occurs within 7-14 days after planting, depending on the variety and growing conditions. True leaves are the second set of leaves that appear after the initial cotyledon leaves. They have a distinct shape and are more developed than the first leaves. Using sharp scissors, carefully snip the microgreens just above the soil line. This method ensures you harvest the greens cleanly, without damaging the delicate roots.
Storing and Using Microgreens
Now that you’ve harvested your microgreens, it’s time to store them properly to maintain their freshness and flavor. Place the harvested greens in a clean, airtight container lined with a paper towel. The paper towel helps absorb excess moisture, preventing the microgreens from becoming waterlogged. Seal the container and store it in the refrigerator. Properly stored, microgreens can stay fresh for up to a week.
Using microgreens in your culinary creations is where the real fun begins. These tiny greens are incredibly versatile and can be used in a wide range of dishes. Add them to salads for an extra burst of color and nutrition, or use them as a flavorful garnish for soups, sandwiches, and wraps. Incorporate them into omelets, quiches, and even as a topping for pizzas. The possibilities are limited only by your imagination.
Benefits of Growing Microgreens at Home
The decision to grow microgreens at home offers a plethora of benefits, both for your health and your lifestyle.
Cost-effective: Growing your own microgreens is an economical choice. A small investment in seeds and growing supplies can yield a bountiful harvest, providing you with a constant supply of fresh greens at a fraction of the cost of store-bought equivalents.
Year-round availability: With the ability to control growing conditions indoors, you can enjoy fresh microgreens regardless of the season. This means a continuous supply of nutritious greens for your meals, even during the winter months.
Minimal space requirements: Microgreens are incredibly space-efficient. Even if you have limited room, you can grow a significant quantity of microgreens in a small area. This makes them an excellent option for urban dwellers, apartment residents, or anyone with limited gardening space.
Empowerment and self-sufficiency: Growing your own food, even on a small scale, is a powerful act of self-sufficiency. It puts you in control of the quality and freshness of the greens you consume. You’ll no longer be reliant on store-bought produce, which may have travelled long distances and undergone various storage conditions. Instead, you’ll have the satisfaction of knowing exactly where your food comes from.
Nutrient density: One of the most compelling reasons to grow microgreens is their unparalleled nutritional content. Studies have shown that microgreens can contain up to 40 times more nutrients than their mature counterparts. They are rich in essential vitamins, minerals, and antioxidants that support overall health and well-being.
Customizable blends: When you grow your own microgreens, you have the creative freedom to experiment with different seed combinations. Create custom blends that cater to your taste preferences and nutritional needs. Mix and match varieties to craft unique flavor profiles that elevate your dishes.
Potential Drawbacks
While microgreens are generally straightforward to grow, it’s important to be aware of potential challenges:
Overwatering: One common mistake is overwatering, which can lead to mold, rot, and other issues. It’s crucial to strike the right balance between providing enough moisture for germination and growth without drowning the plants.
Insufficient light: Inadequate light can result in leggy, elongated stems and pale, weak leaves. If natural light is limited, supplement with grow lights positioned appropriately to ensure healthy, robust growth.
Specific growth requirements: Some microgreen varieties have unique growth requirements. For example, amaranth microgreens prefer slightly warmer temperatures, while pea shoots may benefit from a slightly cooler environment. Understanding the specific needs of each variety will help you tailor your growing conditions for success.
Potential pest and disease issues: While microgreens are generally resilient, they can still be susceptible to pests like aphids or common plant diseases. Regular monitoring and early intervention are key to preventing any major infestations.
Conclusion
In conclusion, learning how to cultivate microgreens is a journey that rewards you with fresher, healthier, and more vibrant meals. Enjoy every step of the process, from selecting the seeds to harvesting the tender greens. With the right knowledge and care, you’ll be well on your way to a bountiful harvest of these nutrient-packed powerhouses. Happy growing!
Remember, cultivating microgreens is not just a hobby – it’s a journey towards fresher, healthier, and more vibrant meals. Enjoy every step of the process!

Frequently Asked Questions (FAQs)
How long do microgreens take to grow?
Microgreens typically take between 7 to 14 days to reach harvestable size, depending on the variety and growing conditions. Some varieties may take slightly longer.
Can I reuse the growing medium for multiple batches of microgreens?
While some growers do reuse growing medium, it’s important to sterilize it thoroughly to avoid introducing pests or diseases to new crops. Consider using a fresh medium for each batch, especially if you’ve had any pest or disease issues.
Are there any specific varieties of microgreens that are easier to grow for beginners?
Yes, radish and sunflower microgreens are generally considered easier for beginners due to their robust growth and resistance to common issues. They are forgiving and can be a great starting point for those new to microgreens cultivation.
What are the most common pests that affect microgreens?
Aphids, fungus gnats, and spider mites are among the most common pests that can affect microgreens. Regular monitoring and natural pest control methods like insecticidal soap or neem oil are effective ways to manage them.
How can I incorporate microgreens into my diet?
Microgreens can be added to salads, sandwiches, wraps, omelets, and even blended into smoothies for an extra nutritional boost. They also make excellent garnishes for various dishes, adding both flavor and visual appeal.
Remember, growing microgreens is not just a hobby – it’s a journey towards fresher, healthier, and more vibrant meals. Enjoy every step of the process!